

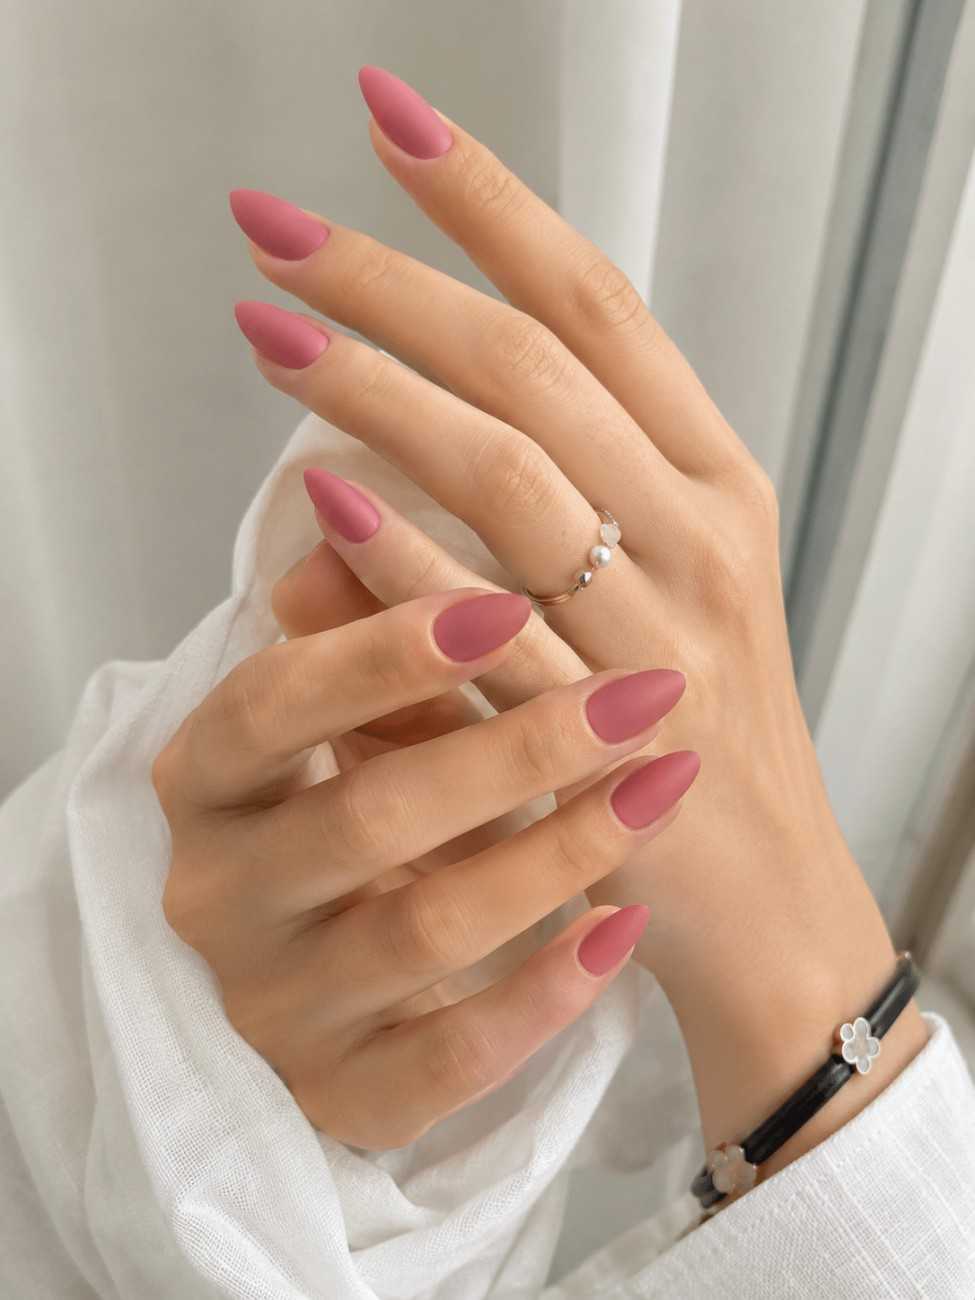
How to Apply Press-On Nails at Home: A Step-by-Step Guide
Do you want nails but don’t want to spend money at a salon? Press-On Nails are way to get a pretty manicure at home. Press-On Nails come in colours, shapes and designs. You can pick the any Press-On Nails that you like best.
If you are preparing for a wedding a party or just a normal day out Press-On Nails can make your hands look nice in a few minutes.
The best part is that you do not need skills to apply Press-On Nails. With a preparation you can have salon‑like Press-On Nails at home.
In this guide we will explain how to apply Press-On Nails at home how to keep Press-On Nails how to remove Press-On Nails safely.
What Are Press-On Nails?

Press-On Nails are the nails that you can attach to your natural nails with the nail glue or adhesive tabs. Press-On Nails are available in many colours, shapes, lengths and designs.
You can choose short square Press-On Nails or you can use French tip Press-On Nails for a simple look or a bridal Press-On Nails for special occasions.
It’s a salon manicure Press-On Nails let you change your nail style at home without spending hours at a salon.
What Do You Need to Apply Press-On Nails?
Before you start, keep these items:-
-
Press-On Nails: Choose your favourite design and shape of press on nails.
-
Nail glue: Helps attach Press-On Nails to your natural nails.
-
Adhesive tabs: A good option, for temporary Press-On Nails wear.
-
Nail file: Helps to adjust the shape and size of Press-On Nails.
-
Cuticle stick: Helps gently push back your cuticles.
-
Nail cleanser: Helps to remove oil and dirt from your natural nails.
-
Cuticle oil: Helps moisturise your natural nails after removal.
Many Press‑On Nail kits already include a nail file, glue, adhesive tabs and cuticle sticks.
Follow these seven steps to get beautiful press‑on nails at home.
Step 1: Choose the Right Nail Size
First select the size for each finger. Place the press‑on nails over your nails to check the fit.
The press‑on nails should cover your nails without touching the skin around them. If a press‑on nail is too wide gently file its sides until it fits properly.
Take your time with this step because the right size helps press‑on nails look more natural.
Tip: Arrange all press‑on nails in order before you start applying them.
Step 2: Clean Your Natural Nails
Clean your nails to help press‑on nails stick better.
First, remove any nail polish and wash your hands. Dry your hands completely, then clean your nails with a nail cleanser or a rubbing alcohol.
Do not apply hand cream or cuticle oil before attaching press‑on nails. Oil can make it harder for the adhesive to hold properly.
Step 3: Prepare Your Nails
Gently push back your cuticles using a cuticle stick. Do not cut them. Push them too hard.
If needed lightly buff your nails according to the product instructions. Avoid filing much because it can weaken your nails.
Remove any dust. Make sure your nails are completely dry before moving to the next step.
Remember: Good nail preparation helps press‑on nails stay in place for longer.
Step 4: Apply Nail Glue or Adhesive Tabs
Now it is time to attach press‑on nails.
If you are using nail glue apply an amount according to the instructions on the product.
If you prefer tabs choose the correct size and place the tab on your natural nail. Press it gently to remove any air bubbles.
Nail glue is generally used for a hold while adhesive tabs are useful for temporary wear.
Important: Avoid getting nail glue on your skin. Always follow the instructions provided with your nail kit.
Step 5: Attach the Press‑On Nails
Place the press‑on nail close to your cuticle leaving a gap between the nail and your skin.
Gently lower the press‑on nail onto your nail and press it firmly. Hold it in place for the time recommended by the product instructions.
Repeat the process for all press‑on nails.
Make sure each press‑on nail is placed straight. This will help your manicure look neat and natural.
Step 6: Let the Nails Set
After applying all press‑on nails give them time to set.
Avoid washing your hands or soaking your nails after application. Water can affect the adhesive especially when press‑on nails have just been applied.
Check that press‑on nails feel secure. If a press‑on nail starts lifting do not ignore it. Force it back, into place. Follow the products instructions to fix or remove it safely.
Step 7: Enjoy Your New Nails
Your manicure is ready!
If needed gently file the edges to get your shape. You can choose almond press‑on nails, short square press‑on nails, French tip press‑on nails or chrome press‑on nails.
For wear, nude and pink press‑on nails are simple choices. For weddings and parties you can try glitter, pearl or gold press‑on nails.
Now you can enjoy press‑on nails without visiting a salon.
How to Make Press-On Nails Longer
Do you want your press-on nails to stay in place for more than a few days? Try these steps to help your press-on nails last longer.
1. Clean your nails thoroughly. Take the time to remove any oil, dirt or old nail polish. This helps the stick better.
2. Pick the size. Nails that fit your nails properly are less likely to lift or come off from the edges.
3. Use the adhesive. Follow the directions on your nail glue or adhesive tabs carefully. Using little or too much can make a big difference.
4. Stay away from much water. Don’t soak your hands for periods especially right after applying your press-on nails.
5. Wear gloves when cleaning. Many cleaning products and water can break down the glue. Make your nails come loose.
6. Don’t use your nails as tools. Avoid using them to open cans, scratch or pick things. This can cause the nails to chip or lift.
7. Remove any nails that start lifting. Don’t wait. If a nail begins to peel take it off properly to avoid damaging your nail.
How long press-on nails last can depend on the kind of adhesive you use how well you prepared your nails and what you do every day. Always follow the recommended wear time on the product.
How to Remove Press-On Nails Safely
Taking off your press-on nails the way helps protect your natural nails.
Step 1: Soak Your Nails
If the adhesive allows soaking put your fingers in soapy water. This helps loosen the glue
Follow the removal guide that comes with your nail kit.
Step 2: Remove the Nails Gently
Once the glue is soft lift the nails carefully. You can use a cuticle stick to help. Do not force the nail off.
Step 3: Use Nail Remover if Needed
Some glues need acetone to come off. Check the product instructions before using any nail remover.
Be careful: acetone can damage press-on nails. Don’t use it if you plan to reuse them.
Step 4: Moisturise Your Natural Nails
After removing the nails clean your nails and apply cuticle oil or a good moisturiser.
If your nails feel weak or sensitive give them a break before putting on another set.
Important: Never bite, pull or force the press-on nails off. This can hurt your nails and cause damage.
Common Mistakes to Avoid
To keep your press-on nails looking great and your natural nails healthy avoid these mistakes:
- Applying nails without cleaning your natural nails first.
-
Choosing nails that are too big or too small.
-
Using much nail glue.
- Applying nails when your hands are wet.
- Ignoring nails that start to lift.
- Pulling off press-on nails of removing them properly.
Avoiding these mistakes helps your nails look better and keeps the risk of damage
Are Press-On Nails Good for Everyday Use?
Yes press-on nails can be a choice for everyday use.
Short press-on nails are a pick if you want a simple look or if you use your hands a lot. Nude nails, pink nails and French tips go well with office clothes and casual outfits.
For events like parties or weddings you can choose almond-shaped nails, chrome finishes, glitter or bridal nail designs.
Pick a size that fits well. Follow the instructions, for applying and removing the nails. If your nails show redness, swelling, itching or pain stop using the product. See a doctor if needed.
Why Choose Press-On Nails of Visiting a Salon?
Press-on nails offer several benefits:
Easy to apply: You can do your manicure at home.
Designs: Choose from French tips, nude nails, chrome nails and bridal designs.
Time-saving: You can get ready without booking a salon appointment.
Great for occasions: They are a convenient option for weddings, parties and festivals.
Easy to change your style: Try colours and shapes to match your outfit.
However proper application and removal are still important to protect your nails.
Frequently Asked Questions
1. How long do press-on nails last?
They may last from a day to days or longer depending on the adhesive, nail preparation and daily activities. Follow the wear-time instructions for your product.
2. Can I apply press-on nails without glue?
Yes. You can use tabs made for press-on nails. They are useful for wear although they may not hold as long as nail glue.
3. Can I reuse press-on nails?
Some press-on nails can be reused if they are still in condition. Remove the adhesive carefully and clean them according to the manufacturers instructions.
4. Do press-on nails damage nails?
They do not always cause damage. However excessive filing, poor application and pulling the nails off can. Damage your natural nails.
5. Which press-on nail shape is best?
It depends on your style. Short square nails are a choice for everyday wear almond nails look elegant and French tips are perfect for a classic look.
6. Can I wear press-on nails at my wedding?
Yes! Bridal press-on nails are an option for brides. You can choose pink, nude, French tip, pearl or gold chrome designs to match your wedding outfit.
Final Thoughts
Applying press-on nails at home is easy when you follow the steps. Choose the size clean your natural nails use the right adhesive and remove the nails gently when needed.
Whether you want nails for everyday wear or beautiful bridal press-on nails for your wedding, there are plenty of designs to choose from.
So pick your style and enjoy a beautiful manicure, from the comfort of your home!
With application and gentle care you can enjoy stylish nails while looking after your natural nails.


